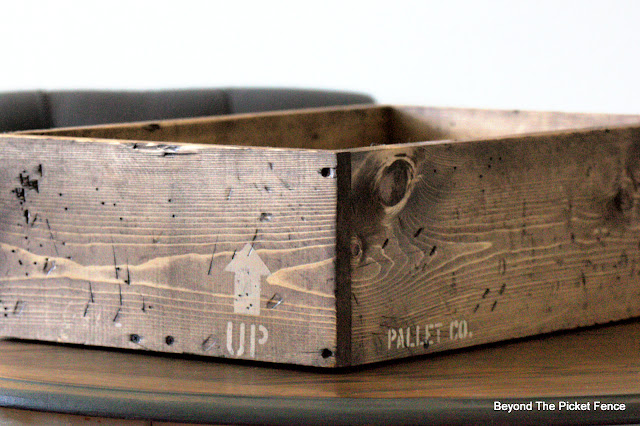
I love building crates--they are easy and so versatile and useful. Let me show you how to make a distressed, shipping crate.
* I distressed my boards after building the crate. In the future, I will distress them before assembling the crate because I had to do a couple repairs where I got a little excited with the sledge hammer.
(Affiliate links)
Start with four same width boards cut to the same length. I used "new" 1" x 8" pine from a burn pile. The length totally depends on the size crate you want. This one was 20" long. Two of the boards will be the bottom of the crate, two will be the bottom of the crate.
Make two L shaped pieces by attaching the side to the bottom with screws or nails and glue.
Set the two L shaped pieces together and measure the width. Cut two boards this size for the ends. If you want a little space on the bottom of the crate (perfect if you are going to put plants in it), then make sure to include that space in your measurement. Attach the ends to the bottom and long crate sides.
To distress the wood, using sledge hammers, wire brushes, metal paint scraper, the claw of a hammer, etc.--whatever you can find to ding and dent it up.
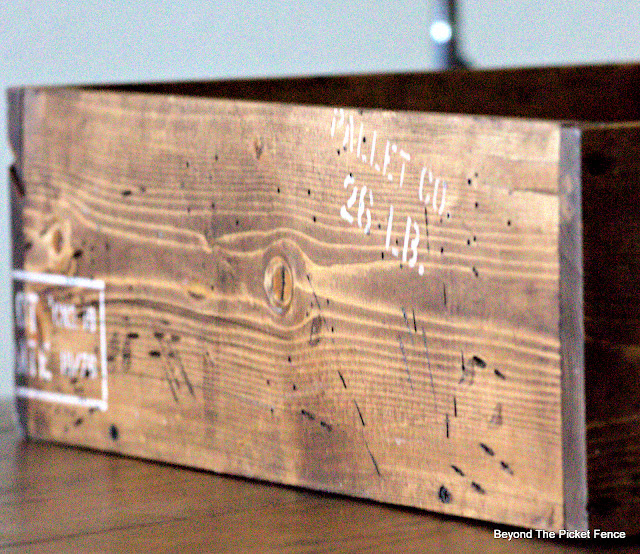
Next, use OLD Sign Stencils (HERE) Shipping Crate stencil (the newest stencil to the line--so many uses!) to give the crate the perfect shipping crate look.
Stencil some of the stencils so they are coming off the edges, not straight, not perfect. I stenciled three sides of the crate.
When the paint is dry, distress a bit over the stenciled areas.
Finish with staining the crate (I used Special Walnut). Be sure to have a clean dry rag to wipe stain away from the painted ares.
Crates can be used for blankets, books, towels, TP, toys, flowers, coffee supplies, bar supplies, ANYTHING that you want to corral and keep together in one spot.


I love crates, but never considered to make them myself. Will try it now - thank you for sharing Becky! Your turned out lovely!
ReplyDeleteThank you! they are very easy to make!
Delete