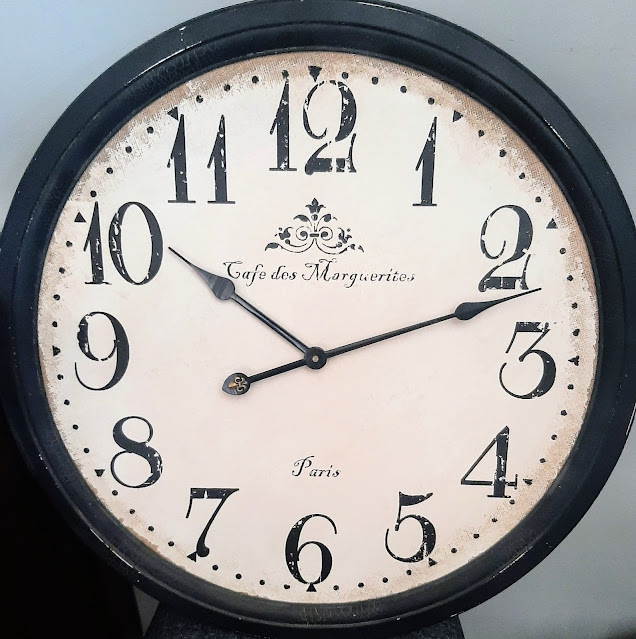
I shared last week that decorating is often like a "if you give a mouse a cookie moment..." and yesterday's post (below) of the colorful found art I created led to a clock makeover today. You see, originally I was hanging my reclaimed object art under and around this BIG French Farmhouse style clock.
I bought this clock at Real Deals ten+ years ago when I was decorating in a more farmhouse style (and pretending to like it). We love the size of this clock and old school folks that we are, we look at it several times a day. I have just made it work, even though its style hasn't been me for several years.
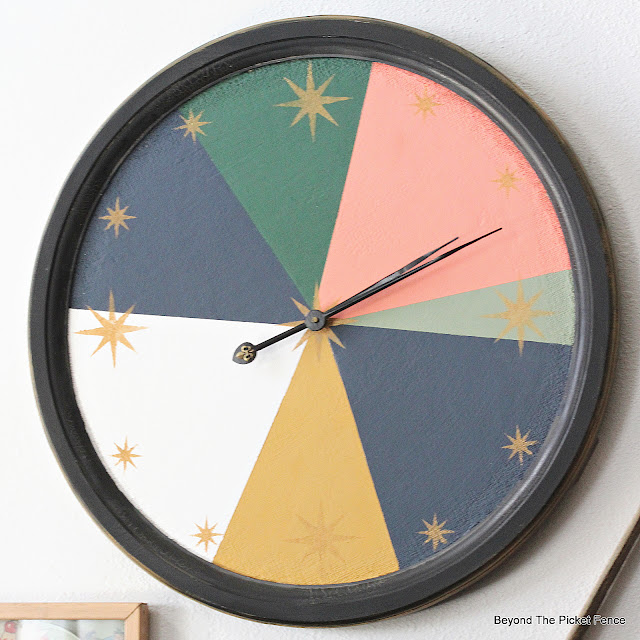
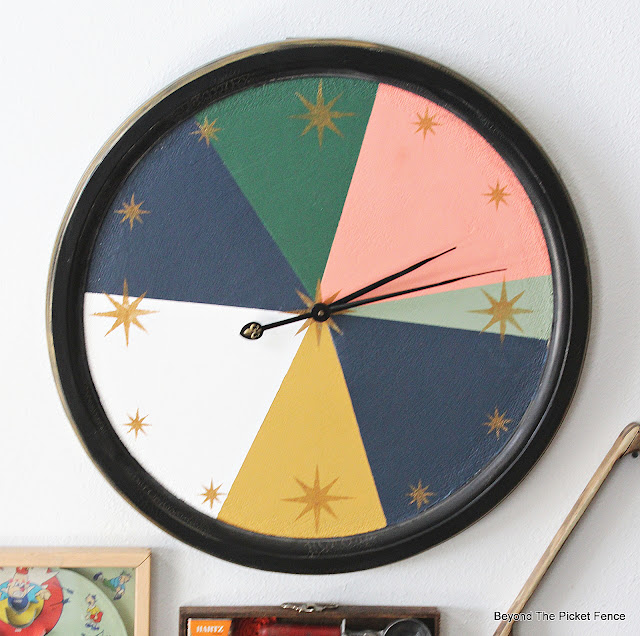
Yesterday when I hung up the colorful, reclaimed vintage object art I made and old games boards, I KNEW it was no longer going to work so I decided to give the clock a makeover. I thought of a few different ideas, but decided on a colorful, mid-century design when I realized the RETRO STAR stencil from Old Sign Stencils would work great for the clock face numbers.
(This post contains affiliate links which means that if you buy something from the link provided, I may receive a small compensation at absolutely NO extra cost to you.)

When I thinking of what I might want to use for numbers for a more updated look, I had a ding-ding-ding moment when I realized the retro star stencil would work perfectly. I knew the large star would be awesome as the 3, 6, 9, and 12 and the smaller star would be used for the numbers in between. You can get the RETRO STAR STENCIL HERE. I am having so much fun and am so inspired by this newest Old Sign Stencil.
To see ALL of the Old Sign Stencils go HERE.
I took off the clock hands gently and then taped the edge of the clock. HINT: Mark where the numbers on the clock face are before painting it, marking the 3,6,9, and 12 more heavily.
I taped off pie shaped wedges and painted them in the colors I wanted. I used a hair dryer to dry the paint faster so I could move on to the next wedge. I didn't measure off or have any plan for the sizes of the wedges. I did want an uneven number. The lighter colored paints took a couple of coats.
When the paint on the clock was dry, I stenciled the retro star. I stenciled the center first and then the number spots. I used gold craft paint to stencil the star pattern.
I used regular scissors to trim the teardrop shape from the metal clock hands. I though it gave them a more modern look. I kept the gold fleur de lis on the minute hand because I was worried the hands would not be weighted properly if I removed it. (PS--It is 2:10 in this picture, both hands are there.)
Now, I realize the colors I chose for the clock do not absolutely match or go with the colors in the old game boards and object art (especially the red). But, I love the color addition to the wall and I love ALL THE COLORS and I am happy to have my BIG clock where we can see it. You might notice the badminton racket got moved from yesterday's gallery wall arrangement. This is all temporary because in our near future we have more house redoing and wall painting and floor refinishing and trim painting and...


No comments:
Post a Comment
Thanks so much for taking the time to comment, I really appreciate your kind words!