Wednesday, October 26, 2022

Simple Centerpiece for Advent

Yes, I know it is still October. But, Christmas creating is in full swing at my house. I am creating it and storing it until the end of November. Do know that you, WE, can decorate whenever we want? Don't let anyone tell you anything differently--it is your home, your space, your decision.

I have always enjoyed the Advent tradition of having four candles to light during the season to prepare for Christmas. Each candle represents a different theme of the season--hope, peace, love-and joy. I wanted to create an Advent centerpiece using thrift store finds. 
thrift store finds
A few simple items from the thrift store plus a few crafty additions and I had a simple, elegant, centerpiece perfect for Advent.
Simple Centerpiece for Advent
 Keep reading to see how I made this PLUS get tons of ideas on how YOU can personalize it and make a unique to you Advent centerpiece.

Monday, October 24, 2022

How to Save a Broken Wicker Chair

Back in August I spied this FREE, broken wicker chair at a garage sale and knew that I could save it. Other than the seat being broken, the rest of the chair was in great condition and the price was definitely right.
Free Wicker Chair Before
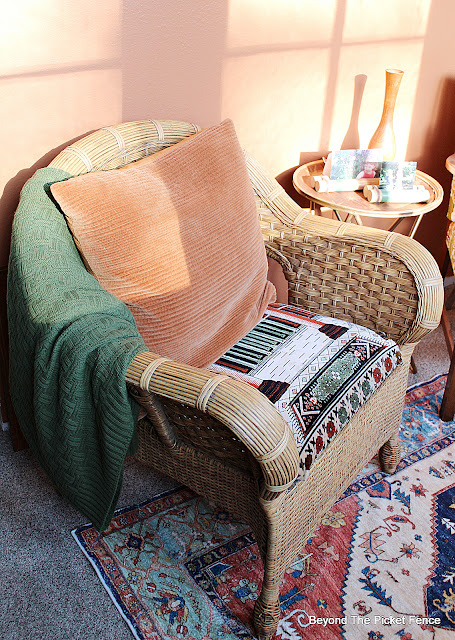
I am working on creating a cozy and comfortable reading nook in our main bedroom. I decided this chair fit both the look I am wanting in the space and that with a little help, it could have the comfort factor too. While I am still working on the reading nook, I couldn't resist giving you a peek of the upcycled rattan chair with the morning sunlight streaming in.
How to Save a Broken Wicker Chair
Keep reading to see how I saved this FREE chair.

Thursday, October 20, 2022

DIY Large Decorative Bells

I am hesitant to call today's project a Thrifty Thursday project. Although it is certainly made with thrift store items--canisters and pot lids to be exact, it is more of a craft or project kind of a post that uses thrift store finds. 
DIY Large Decorative Bells
No matter what I call the post, I love this project turned out and I will definitely be making more (especially after working out the kinks).  Be sure to read to the end of this post to see what I will do differently when making these in the future. The project idea started with my wanting large. decorative, gold bells for my Christmas porch decor. 
DIY Large Decorative Bells
These were popular last year. But at $20+ a pop for the BIG bells, I decided I would figure out a way to make something similar. I perused the thrift store for possible items to make the bells and landed on canisters and random pot lids to recreate the decorative bells.
DIY Large Decorative Bells
I found lids that fit on the top of the canister bottom. I wanted lids that had a handle and were metal, not glass. I sanded the bottom of the canister and the rim of the pot lid and then cleaned them with white vinegar. Using super glue, I attached the lid to the canister bottom. They are stuck together firmly and the super glue held really well. I then spray painted the canisters with flat black paint.
Baking Soda Paint to Add Texture
The manufactured bells have a rough texture so to recreate that I added baking soda to black paint and painted the canisters inside and out. I used a one to one ratio of paint and baking soda.
DIY Large Decorative Bells
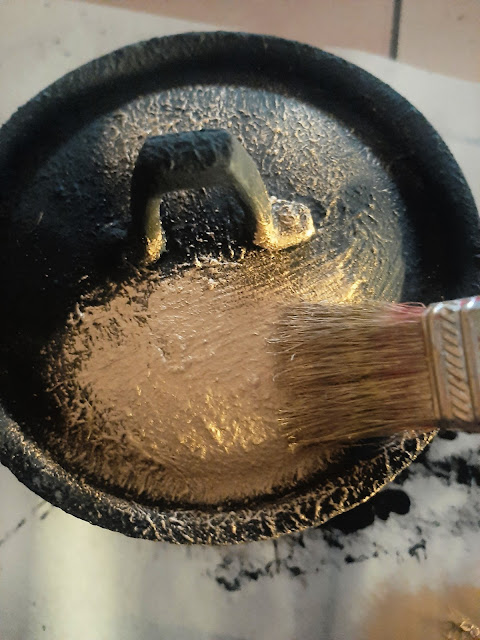
I then painted the canisters with gold paint. When that was dry I dabbed on some brown, burnt orange, and maroon colored paint, dabbing it off if it got too heavy. I then painted one more coat of gold craft paint and sprayed then with a clear coat when the paint was dry.
DIY Large Decorative Bells
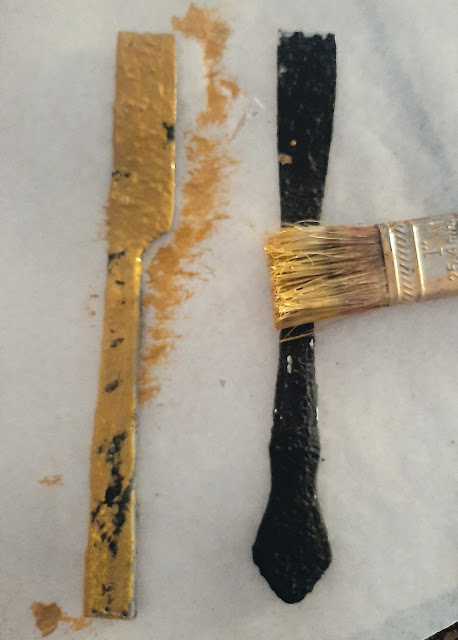
To make the tongue or the clapper of the bell, I cut some of the blade portion off from two butter knives. I used tin snips to cut them and then the vice grip to bend and finally break them. I sanded the sharp edges and then painted the knives the same as the bell.
DIY Large Decorative Bells
Attaching the knives became a frustrating task and I will do it differently next time. After trying a few other methods. I ended up wrapping wire around the knife handle and then poking it through and securing it in a cardboard piece I cut to fit snuggle inside the bell. I hot glued the cardboard inside.
DIY Large Decorative Bells
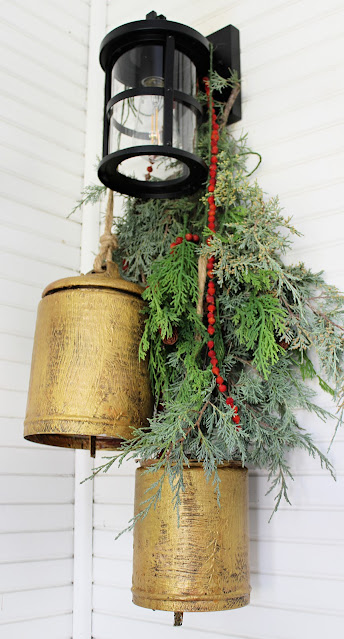
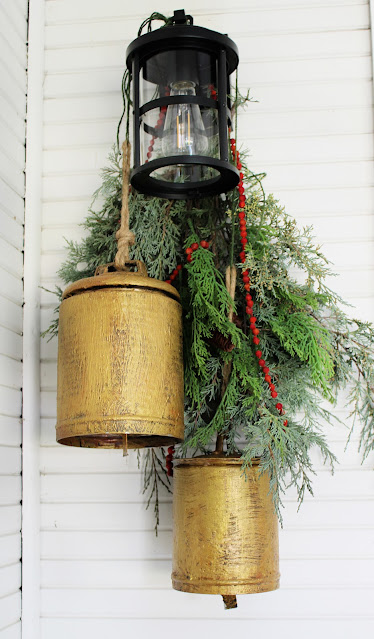
Some rope tied through the pot lid handle and I think my bells rival the manufactured version.
DIY Large Decorative Bells
My version cost about $3.50 per bell and I love them hanging from my porch lights with a little greenery and a rosehip garland. I will be making more for all of my outdoor lights. I think I might make some ginormous bells from the popcorn tins that are always at the thrift stores. 

What I would do differently. I think I would skip the black baking soda paint and paint an initial coat of gold baking soda paint over the flat black spray paint. I would use a little less baking soda to make it a bit less texture. BEFORE I glue the lid to the canister bottom, I will drill two holes and string a wire loop through them to attach the knife, I will then drill through the knife handle and wire the knife to the loop inside. 

Let me know if you will try this project. I am really so pleased with final product and the price  to make these makes me happy.

Thursday, October 13, 2022

Thrifty Thursday Wood Ice Cream Bucket

Thrifty Thursday
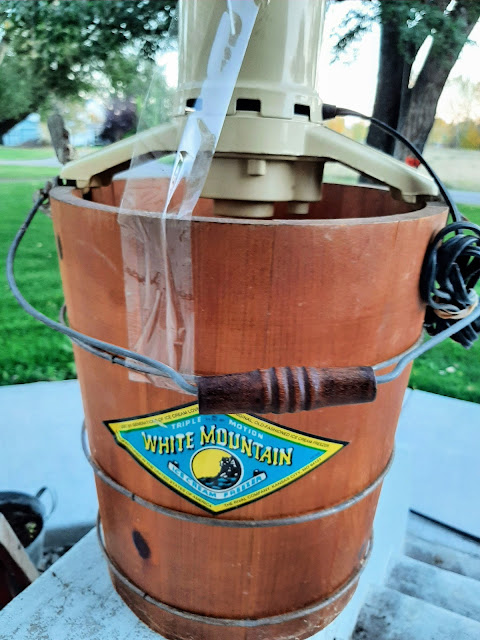
Wood ice cream buckets or ice cream makers are a must buy at the thrift store if the price is right. I recently found this one on a half price sale at the thrift store. It was missing the metal bucket and the ice cream paddle. I did plug it in just for fun to see if it would run. It did, but boy was it loud and had a hot smell. So the motor part went into the trash.
Thrifty Thursday Wood Ice Cream Bucket
I removed the label and used some Goo Gone to remove the "sticky" and then painted it Aged Pine green.

This post contains affiliate links at NO EXTRA COST to you!
Thrifty Thursday Wood Ice Cream Bucket
I left the handle as is and I tried to not completely cover the wire handle or hoops that help hold it together. 
Thrifty Thursday Wood Ice Cream Bucket
When I first saw it I thought it would make a terrific tree holder for Christmas. I thought about painting it red, but then decided I wanted to use it more often than just at Christmas time. I have decided that green is a wonderful neutral for all the seasons. 
Thrifty Thursday Wood Ice Cream Bucket
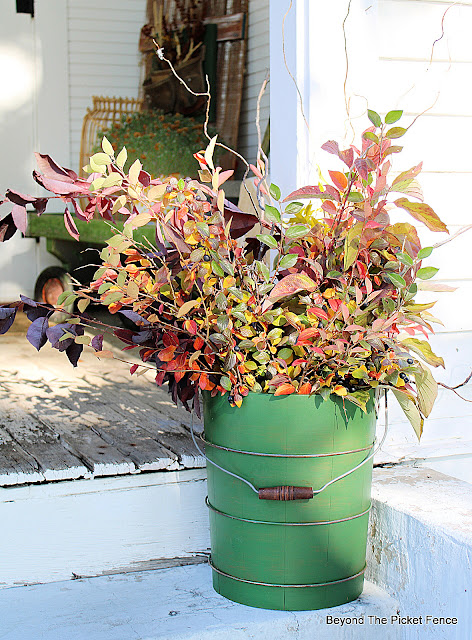
After a couple coats of THIS PAINT, ( I love this GREEN!), it was ready for a fresh look.
I walked around my yard and clipped some various branches to put together a FREE and fabulous fall arrangement.
Thrifty Thursday Wood Ice Cream Bucket
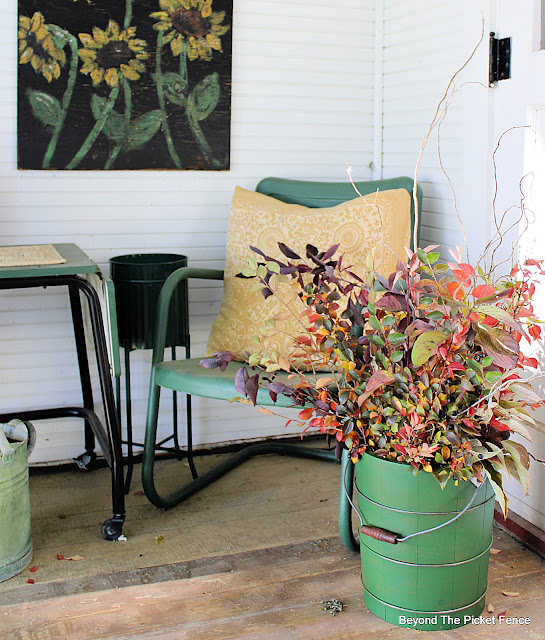
This green ice cream bucket will be perfect for a fake or real Christmas tree. It also works to hold blankets or towels inside, extra rolls of toilet paper in the bathroom, newspapers or logs next to a fireplace. For now, I love it on my front porch holding beautiful fall foliage.
Thrifty Thursday Wood Ice Cream Bucket
SO...be sure to look for old ice cream makers at the thrift store. They may be located in a spot that you don't typically scout for items. This one was in the electronics section.