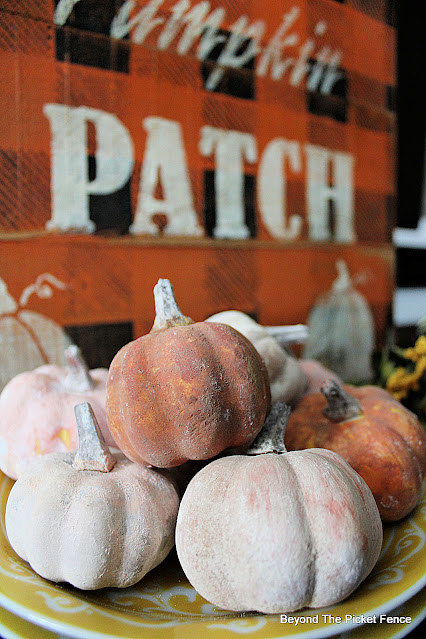
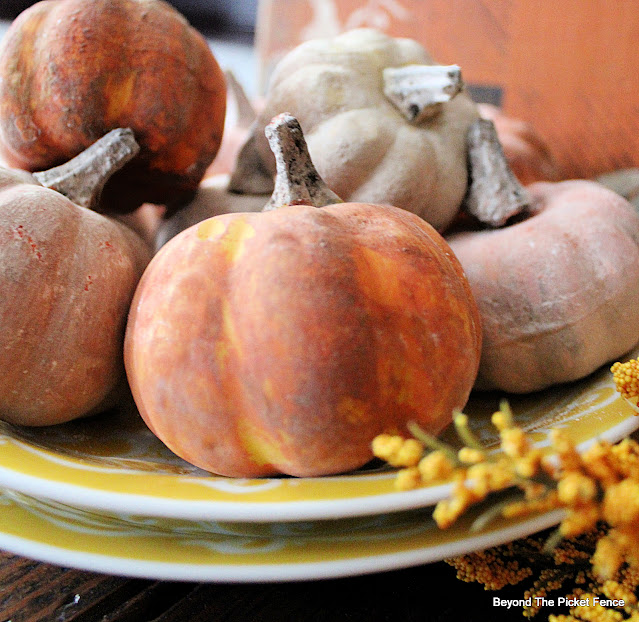
Today's project is a fast and fun one that creates a unique and different velvety, textured look on decorative pumpkins.
Keep reading to see how to easily create this weathered, aged soft look on small decorative pumpkins (or fruit, or figurines, or Christmas ornaments).
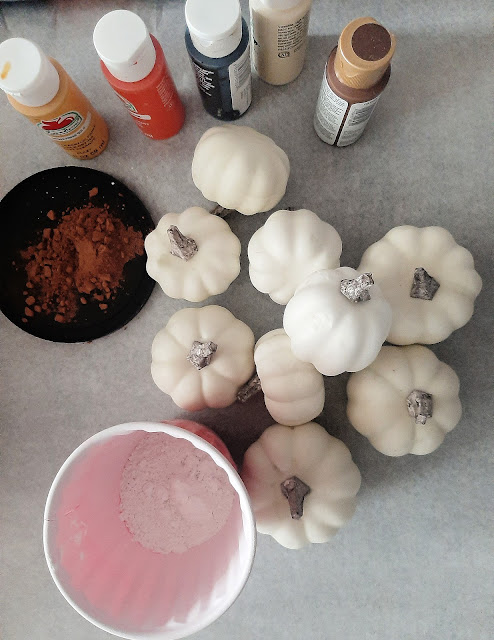
I started with white, squishy pumpkins from the craft store, some decorative craft paint, and some cocoa powder and some plaster of paris powder.
I started by painting the pumpkins a base color--either a golden yellow, orange, or brown.
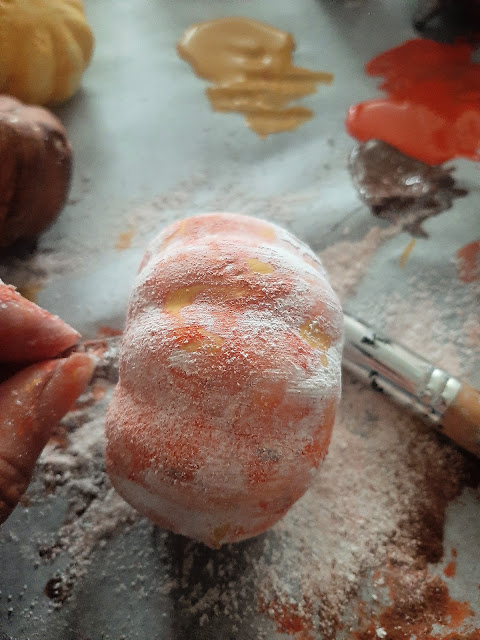
Then, when the paint is still wet, dab on either the cocoa or the plaster or both with a paintbrush.
When the second coat paint and powder seem dry, brush off the excess with a stiff, dry brush.
I did add bits of more yellow and orange paint and then powder here and there.
I love their texture and aged look.(This post contains affiliate links which means if you chose to buy something from the link I provide, I may receive a small compensation.)
I made this fun sign a few years ago with the help of Funky Junk's Old Sign Stencils. You can find them HERE! They are high quality stencils made to be used over and over.
This is not their final resting place or display for these pumpkins. I am going to use them in my fall centerpiece that I will share later this week.


Love these pumpkins!!
ReplyDelete