On the first day of Christmas
Beyond The Picket Fence gave to me,
Welcome to Beyond The Picket Fence's annual 12 Days of Christmas. Over the next 3 or so weeks I will be showing you a dozen Christmas ideas that hopefully are fresh and easy. And yep, the bad rhymes are back this year. I can sing it in a really poor voice too. At the end, I will have a link party for YOU to link up your projects.
If you will indulge me, this year some of the projects are inspired from some of my favorite childhood Christmas memories and traditions. I am updating them, but you will get to (have to?) walk down memory lane with me for a few of the ideas.
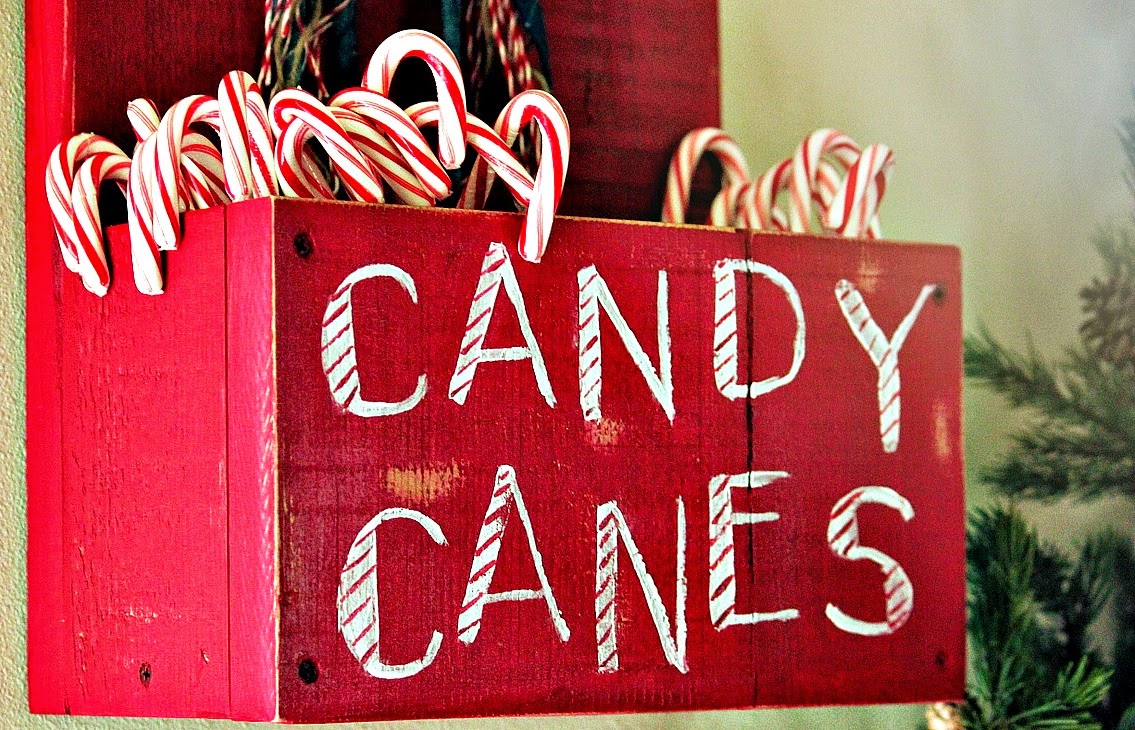
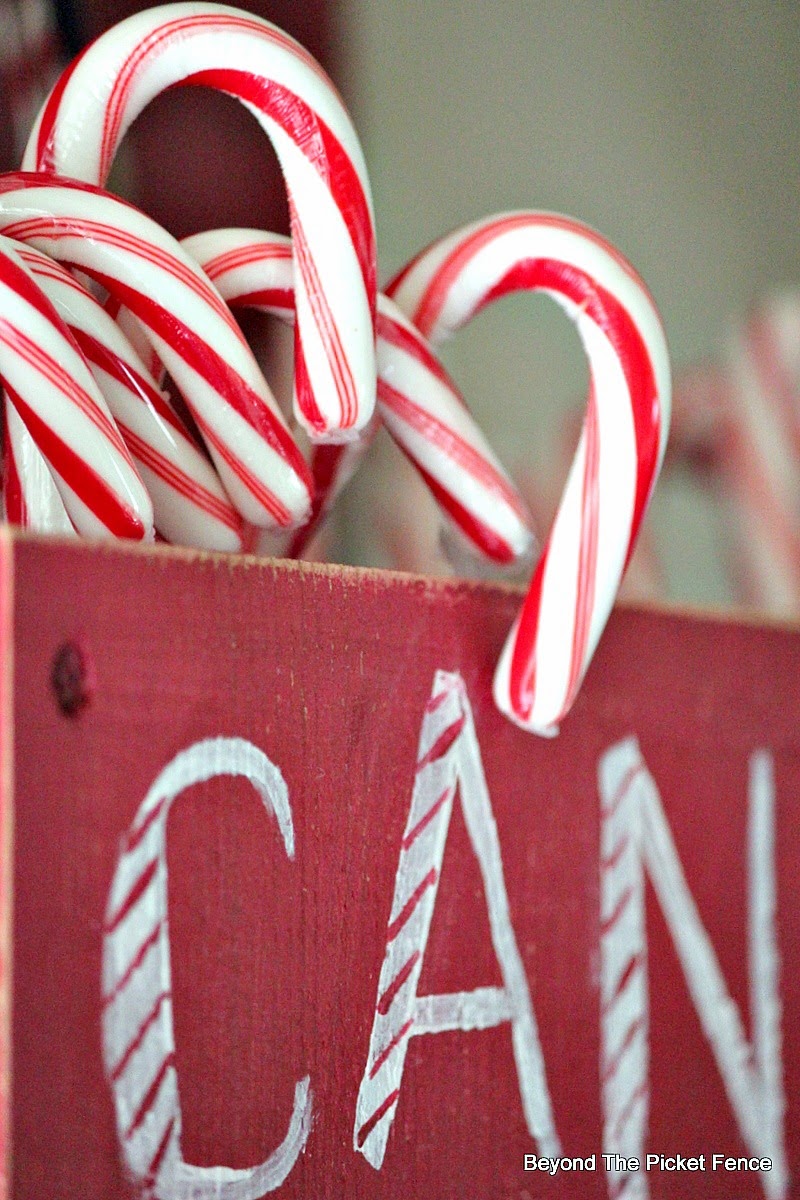
I am not sure if my family did this every year, but we had two paper mache Santa boots, well they were half boots that hung on the wall. They had little elves on them and I remember them hanging in our shiny foil wallpapered entry. We would keep candy canes in them to hand out to visitors and carolers that would come to the door. It was a small thing, but I remember it felt good to be able to give something to anyone that came by. I created a candy cane box from wood to hang by my front door.
The construction is simple. I used 1x12's and dog-eared to corners just for fun. I used screws to put it together.
After painting it red, I used chalk to "sketch out" the lettering. The nice thing with the chalk is that you can wipe it away until you get it right.
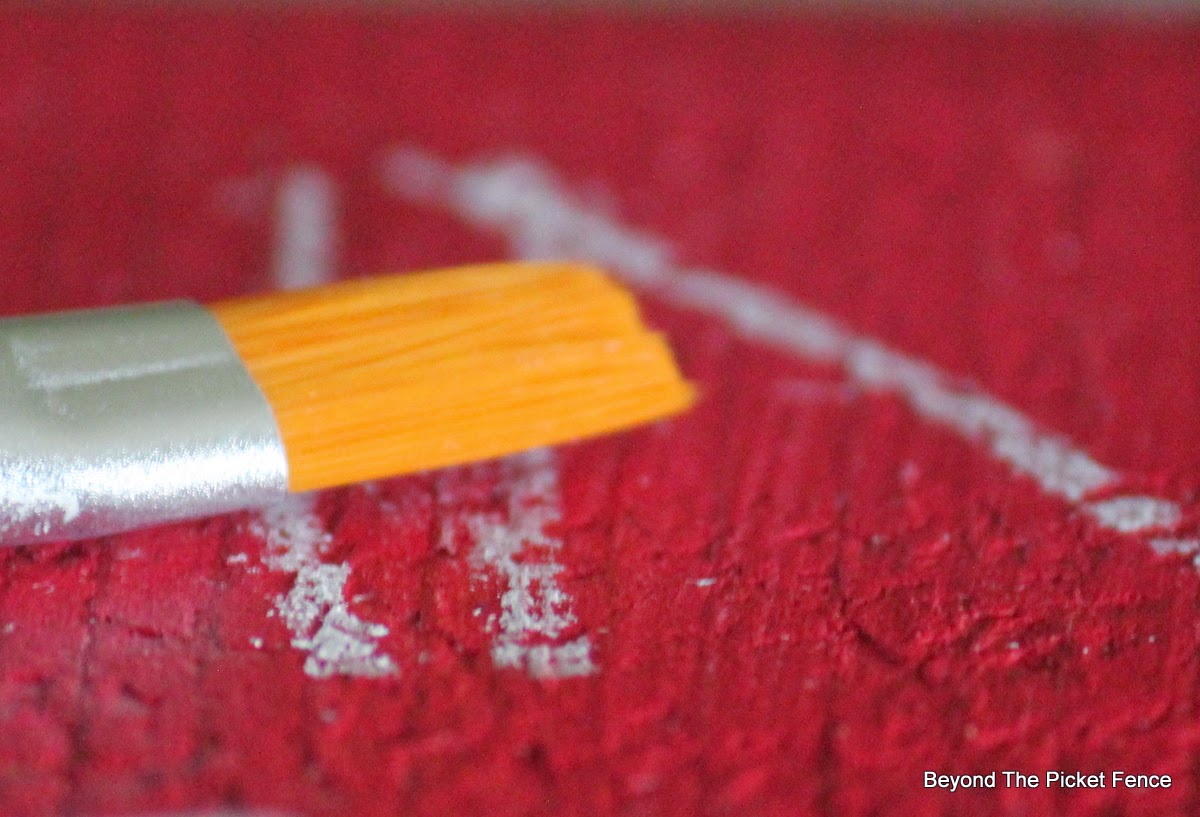
Using a small, flat bristled brush I painted the letters.
When the lettering is dry, use a damp terry cloth rag to "sand" it. This is the most gentle way to get areas that have too heavy of paint cleaned up. It also keeps your white lettering from turning pink.
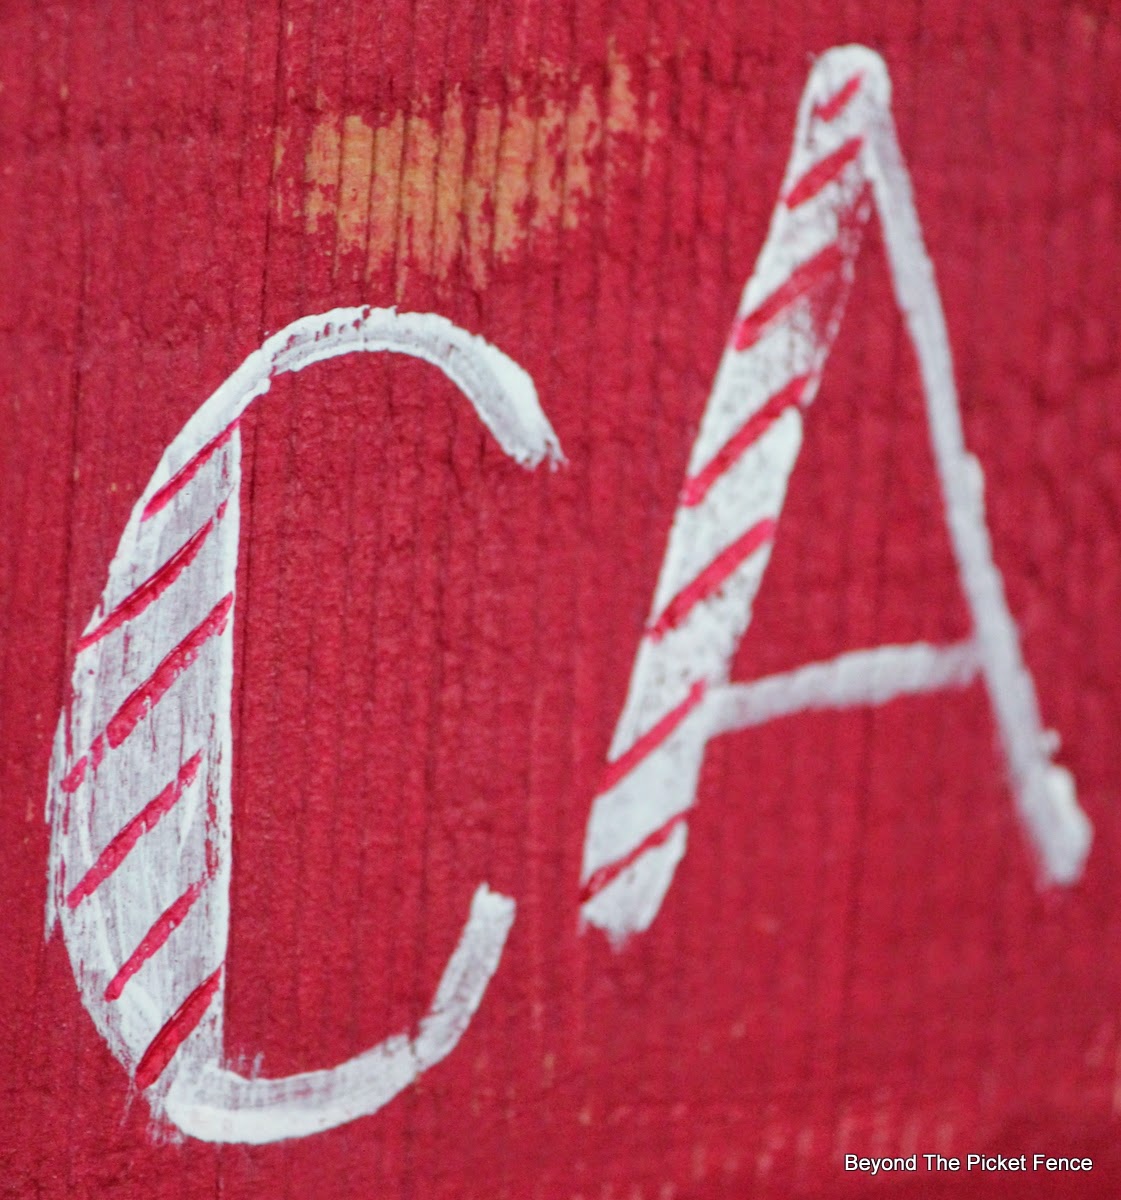
I then used a small brush to paint red, candy cane stripes on the fat parts of the letters.
A clear coat protected all of it. I drilled a large whole in the top and added a messy bow made from baker's twine, twine, and strips of a flannel shirt that I am using for some other Christmas projects. After having a white Christmas for a few years, as in white decor, I am ready for reds,and greens, and turquoises this year.
Because the box is pretty deep, I added some red tissue paper in the bottom. I look forward to keeping it filled this year for all visitors (and my family too!),
In case you missed it, I am a contestant in Bob Vila's thumbs up competition. I would so appreciate your vote! You can vote once a day through the end of the month. Thanks so much for your support!
LINKING UP AT FUNKY JUNK INTERIORS!


A great Christmas project!
ReplyDeleteAdorable! Love the rustic feel to and it looks so quick and easy!
ReplyDeleteLove the red!
ReplyDeleteThis is really cute! I just finished putting together a Christmas picture, so I guess I better get a post up so I can link up later.
ReplyDeleteWhat a cute candy cane holder! <3
ReplyDeleteI love this idea and your box is so cute! You have a good hand, my lettering would never look that good! Love it all! And great tip about the distressing with a cloth.
ReplyDeleteI love this and really want t make one now!
ReplyDeleteYou are so creative! love this one, also.
ReplyDeleteSandi