
Happy New Year and oh, happy day, Thrifty Thursdays are back! Once a week (most weeks) I will share a project made with easy to find thrift store items.

This week's project started with a couple sweaters, a wire waste basket, and a leather belt (not pictured).

An hour, and these simple thrift store items, plus a few supplies, and I have a cozy sweater basket or container, perfect for winter decor.

Start by tracing the bottom of your wastebasket ( or ice cream tub, or basket, or metal container) on a piece of stiff cardboard and cut it out a little smaller.
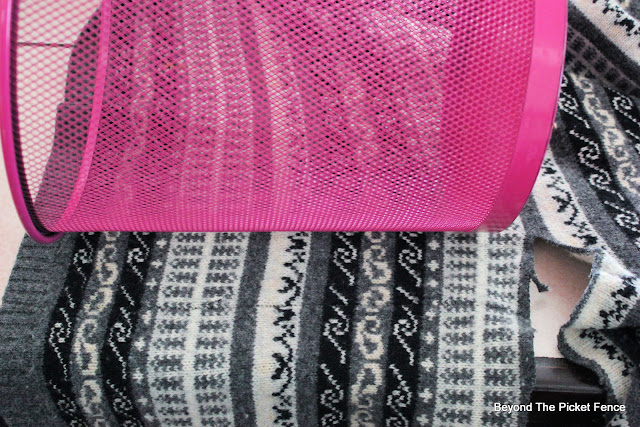
Lay your container on a sweater of your choice and cut a piece that is large enough to fit around the container, and that is an inch loner on both the top and bottom of the container. I used the finished bottom sweater edges which made this much easier.
I did cut a bit of an angle on the sides of the sweater piece since my wastebasket was wider at the top.

Turn the sweater piece wrong side out and put it inside the basket and hot glue the finished edge to the inside upper edge of the wastebasket.
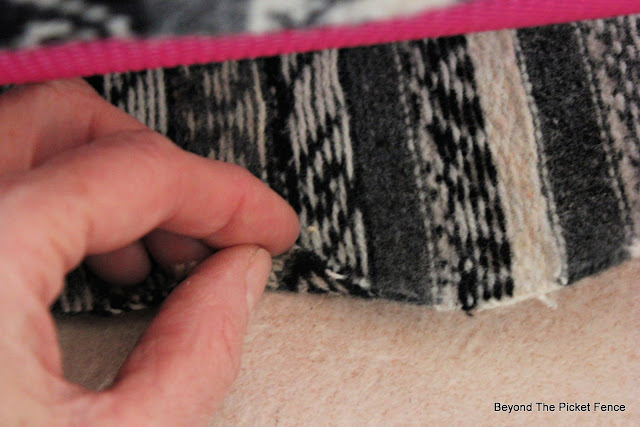
When finished, flip the sweater out side of the basket and to the right side. Hot glue under a "finished edge" on one side of the vertical sweater edges.

Glue the unfinished, vertical edge to the basket. Then cover that edge with the glued under finished edge. The pattern on the sweater made it easy to match up as I stretched the sweater some.
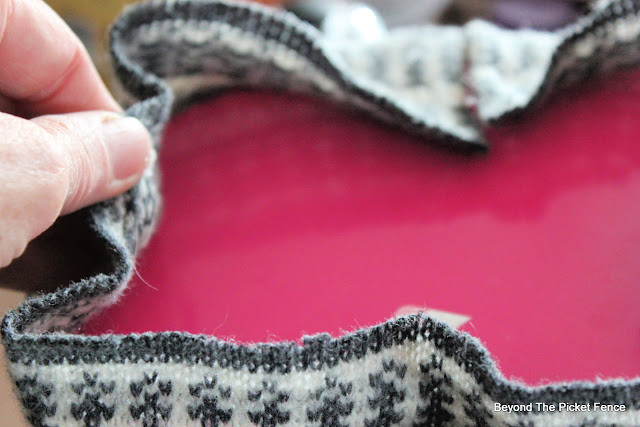
Glue the bottom edge to the bottom of the basket in four spots.

Cut slits around the circle and glue down the rest of the bottom edge. Again, the pattern helped me to glue evenly. I trimmed off the excess and then cut a circle from the sweater and glued it over the rough edges.
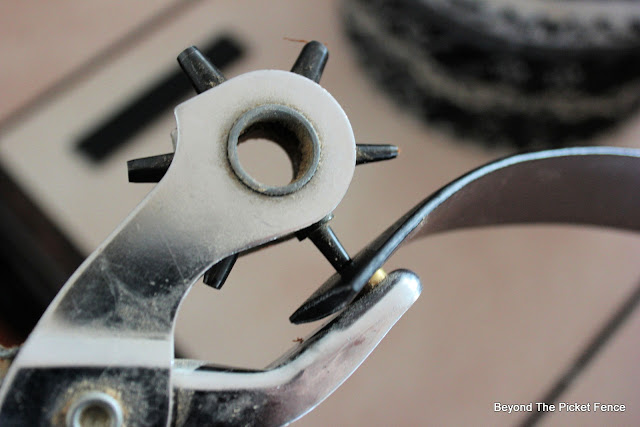
Cut two approximately five inch pieces from a leather belt. using a leather punch, or hole punch, or drill, add holes on either end of each belt piece.

Use brads to attach the handles to the basket. These attached easily to my mesh, metal wastebasket. if you are using a plastic wastebasket, you may need to drill small holes in the basket to put the brads through.

For the lining, I cut a sweater piece the same size at the outside sweater covering. I decided I might want to wear the blue one 😂 so I found another sweater I had from the thrift store, a warm yellowy/gold one. Put it in the basket, right side up and hot glue the finished edge to the inside edge of the basket.

When the top edge is glue, flip the sweater out and glue a finished edge. I suppose you could do this ahead of time as well, I just didn't.

Glue the vertical edges like you did for the outside sweater covering. It is a bit challenging to glue the inside, just do it in small sections, pressing the sweater into the hot glue. Glue the bottom edges down in a few spots.

Trace the cardboard circle on the inside sweater fabric and cut a circle that is about an inch bigger than the cardboard circle. Cut small snips on the outside edge of the circle. Hot glue it to the cardboard.

Working quickly, put hot glue all over the bottom side of the fabric covered circle and place in the bottom of your basket.
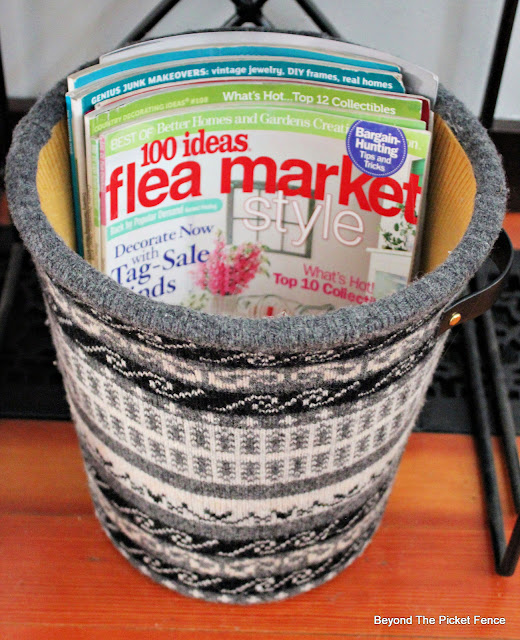
Remove all of the hot glue spider webs (a hair dryer works great for this) and voila, a cozy basket perfect for magazines. books, toys, towels, mittens and hats, or anything else that needs a cute container to hold it.

There are so many ways to vary this project. I originally was looking for a cream colored, cable knit sweater, but decide this little accessory was a great way to add a touch of pattern to my winter decor. You could use flannel shirts, fleece blankets, etc.

Different side and shaped containers would be cute too! Once you make one, you might be hooked--I know I am. So keep your eyes open for great containers at the thrift store to cozy up this winter.


This looks so nice and very custom. Pinned!
ReplyDeleteThank you, Vikki!
DeleteI really love this idea, and may actually attempt to make one. Thank you for the idea and the clear instructions!!
ReplyDeleteYou are welcome. I am keeping my eyes open for other fun containers to cozy up.
DeleteI'm glad you went with the patterned fabric, it looks terrific! Great tutorial.
ReplyDeleteThanks, I am too. The pattern really helped to line everything up.
DeleteThis is just beautiful, Becky! Great project!
ReplyDeleteThank you Linda, it was fun to put together and I do plan on making more!
Delete